After nearly 10 years, the vibratory pump on my trusty Bezzera BZ 10 espresso machine started to fail. The expected life-span of these pumps is actually rated at only about 4 years, so lasting almost 10 seems impressive. However, as they say hind-sight is 20/20 and thinking back, signs of failure started years ago.
However, last week, it was clear. Shots ramped up to brew pressure slowly, and they could not hold through the shot…frequently dropping to as low as 2bar by the end. If I had a pressure profiling machine, that would be fine, but the BZ10 doesn’t do that. So, it was time to replace the pump.
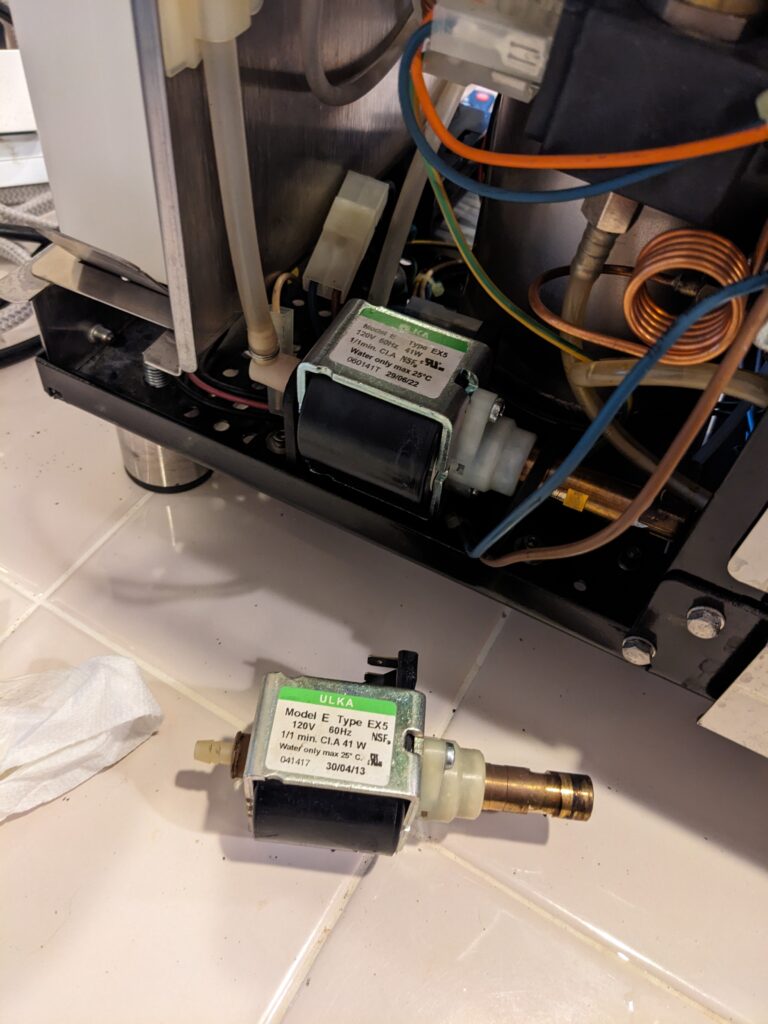
In the above picture you can see the old pump removed and the new pump installed. The process is really very simple provided you have the necessary tools. The entire effort took me 20 minutes.
Tools Required
- Replacement pump. I found the exact replacement on Amazon here.
- 3mm Allen wrench for machine case AND the pump vibration dampeners
- Two(2) Crescent wrenches (small and large – or you may also be able to use a pair of vice-grips, but be really careful)
- Teflon tape
The first thing you do is remove the water tank from the back, tip the machine on its side, and remove the 4 Allen bolts that hold the case one. The case then slides DOWN to unlock the parts that attach to chassis/frame of the machine. You can search the internet for this process.
After the case “falls” down, you can remove it from around the chassis/frame and you will see the pump on the side. Removing the pump can be a little tricky unless you have an Allen wrench that can fold a bit. But, you can push/twist on the rubber vibration dampener mounts that hold the pump to get better access.
Once the Allen bolts are removed, you use a crescent wrench to unscrew the water line from the brass end.
Once the brass coupling is removed, the connection on the other side of the pump is just a pressure fit, and you can simply wiggle that off. Remove the rubber vibration dampener mounts, and the electrical connections and the pump is now free.
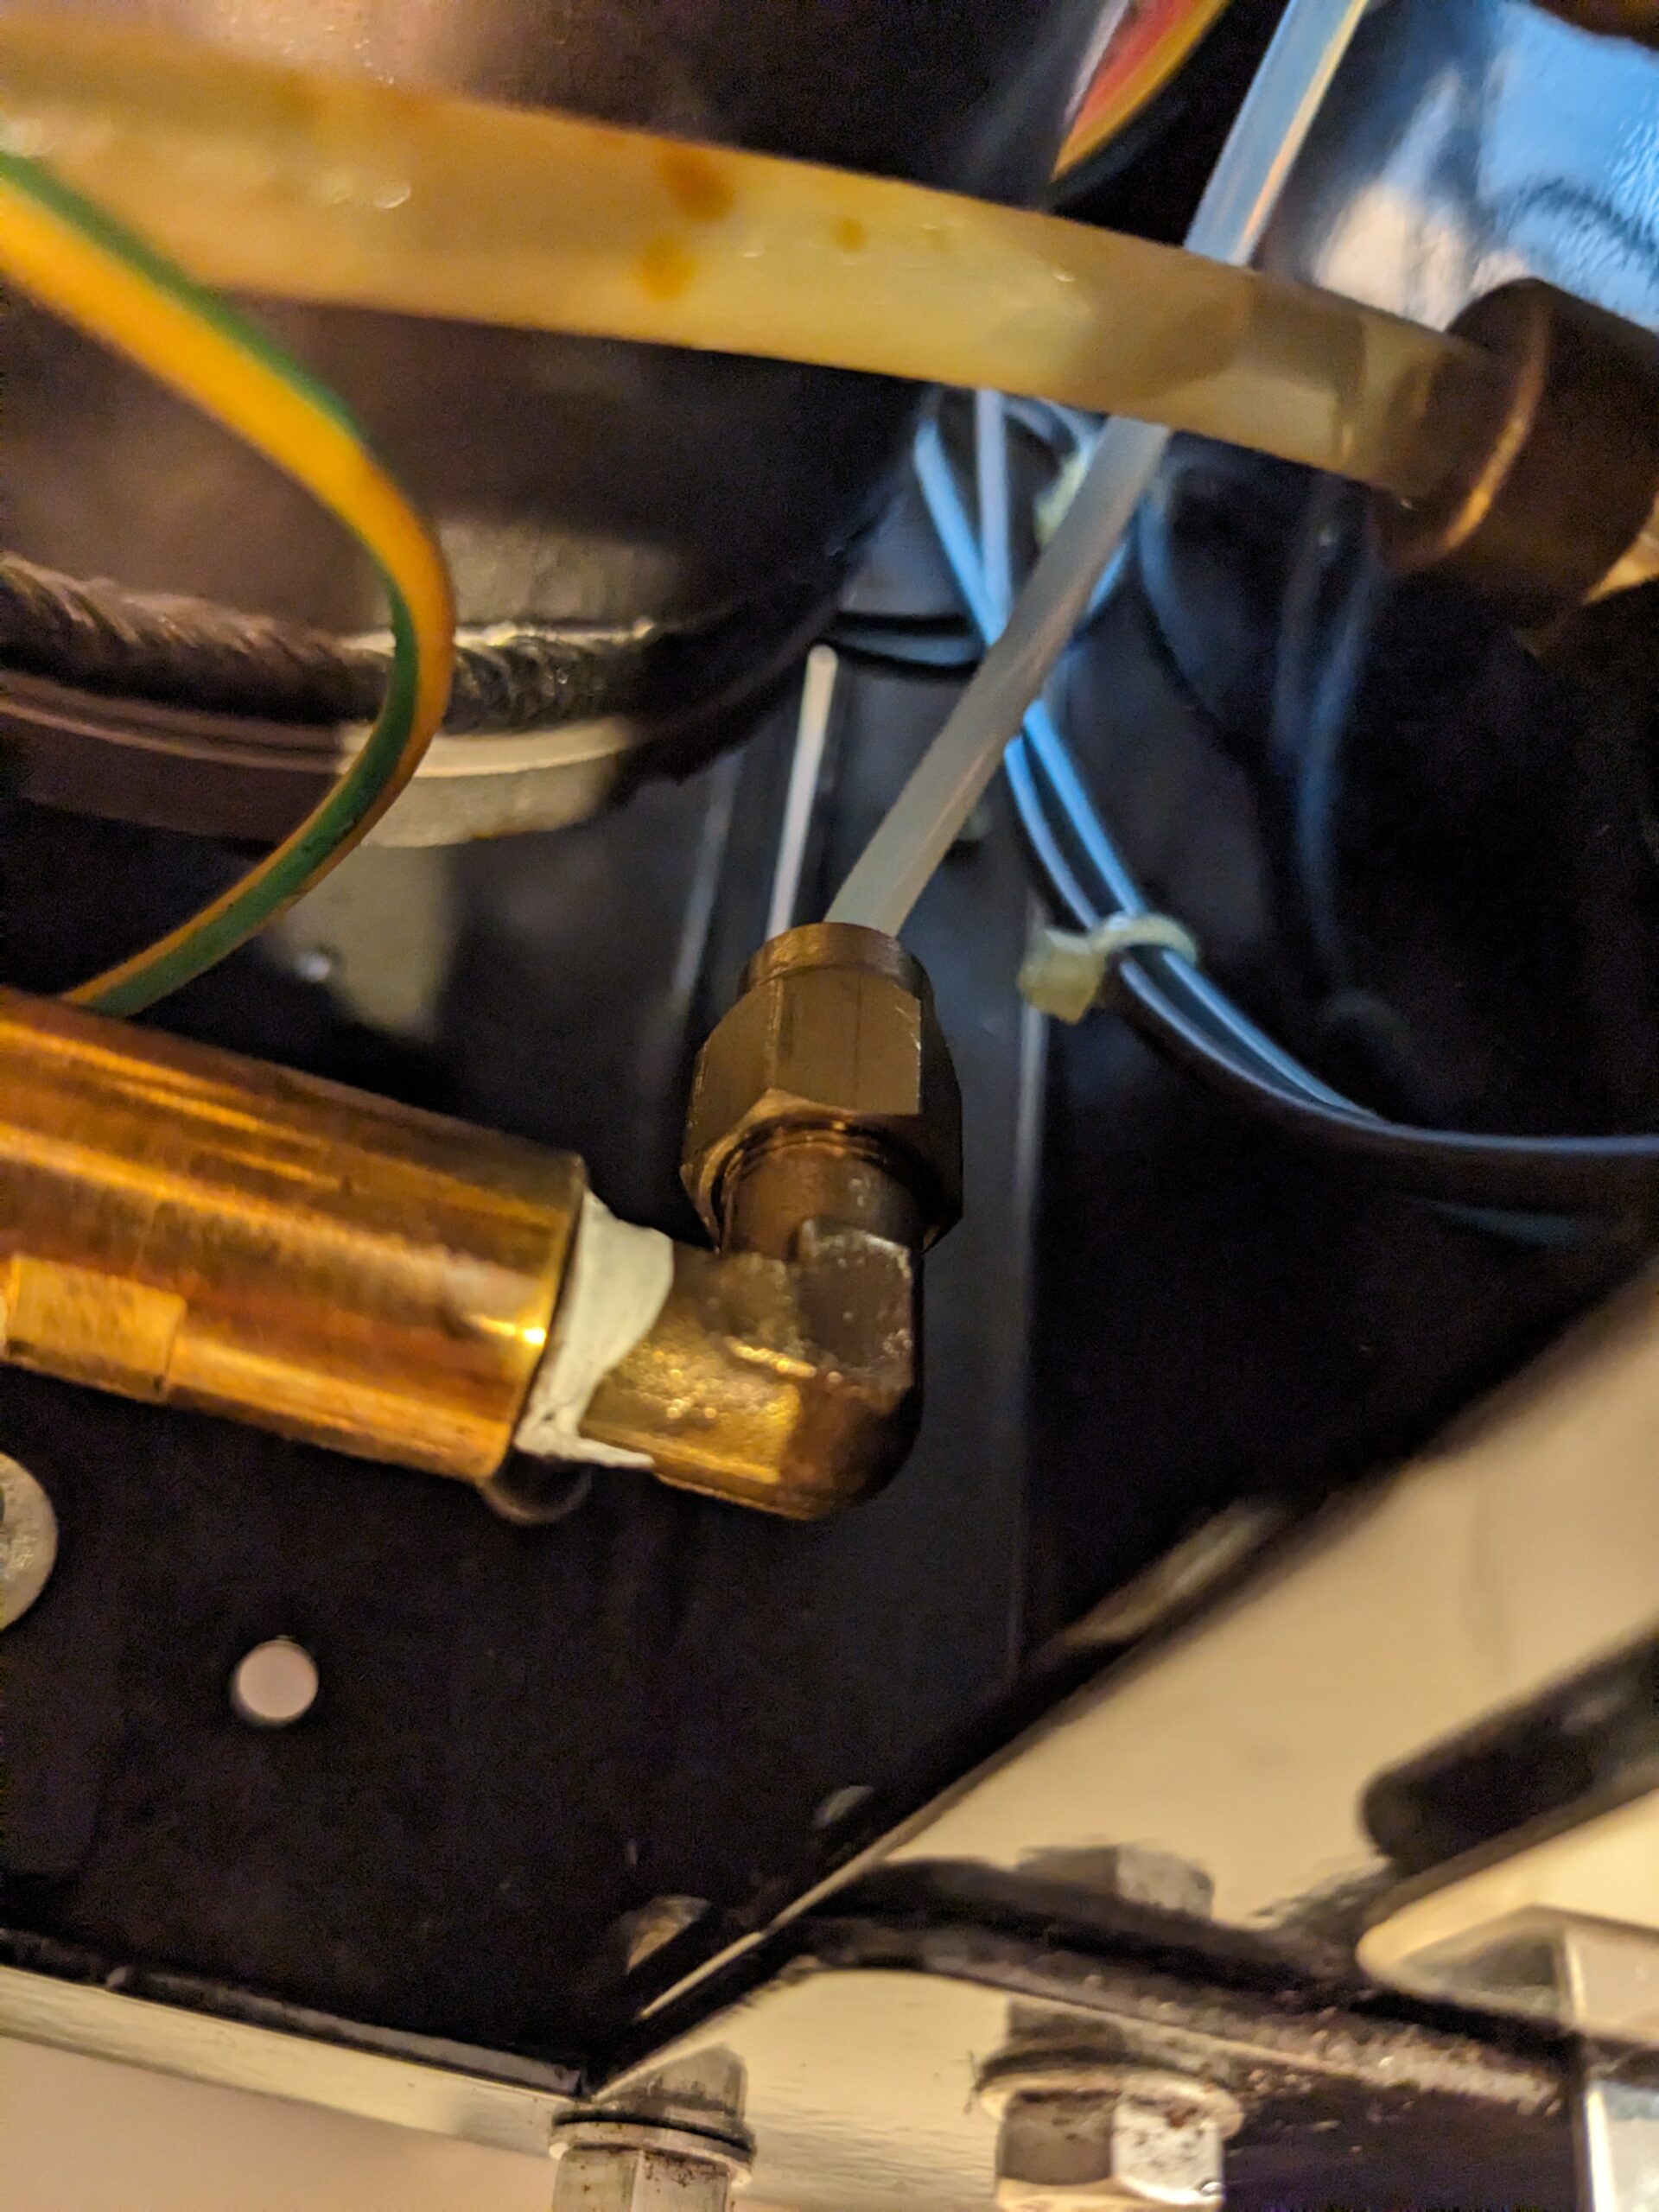
Now, you need two crescent wrenches. One goes on the flat part of the elbow joint, and the other in the grooves of the brass pump output. Unscrew the 90 degree elbow because you need to transfer that to the new pump. This is a very tight connection. If you are using vice-grips be careful not to damage the brass connection. Mine had a little gunk in it, so I cleaned it up. But, if you are using hard water, this is a good time to de-scale that part.
Attach the 90 degree elbow to the new pump. I wrapped the threads with some Teflon tape to ensure a good connection. This is a cold water system at this point, so heating of Teflon is not an issue, but still make sure the tape you are using is safe for water lines. Also, attach the vibration dampener mounts, re-connect the waterline on both sides, and the electrical connections. At this point, turn the machine back on and do a leak test. The pump will need to prime for several seconds to suck water through the new system, but make sure there are no leaks before you seal everything up.
Once you are satisfied there are no leaks, fully re-install the pump by screwing the vibration dampener mounts back to the machine chassis and put the case back on the machine.
My machine is now like new. Pressures are all back to normal (I took the time to also re-adjust the OPV valve – on the other side of the machine) and the machine is significantly quieter with the new pump.
Happy Brewing.